
Products You May Like
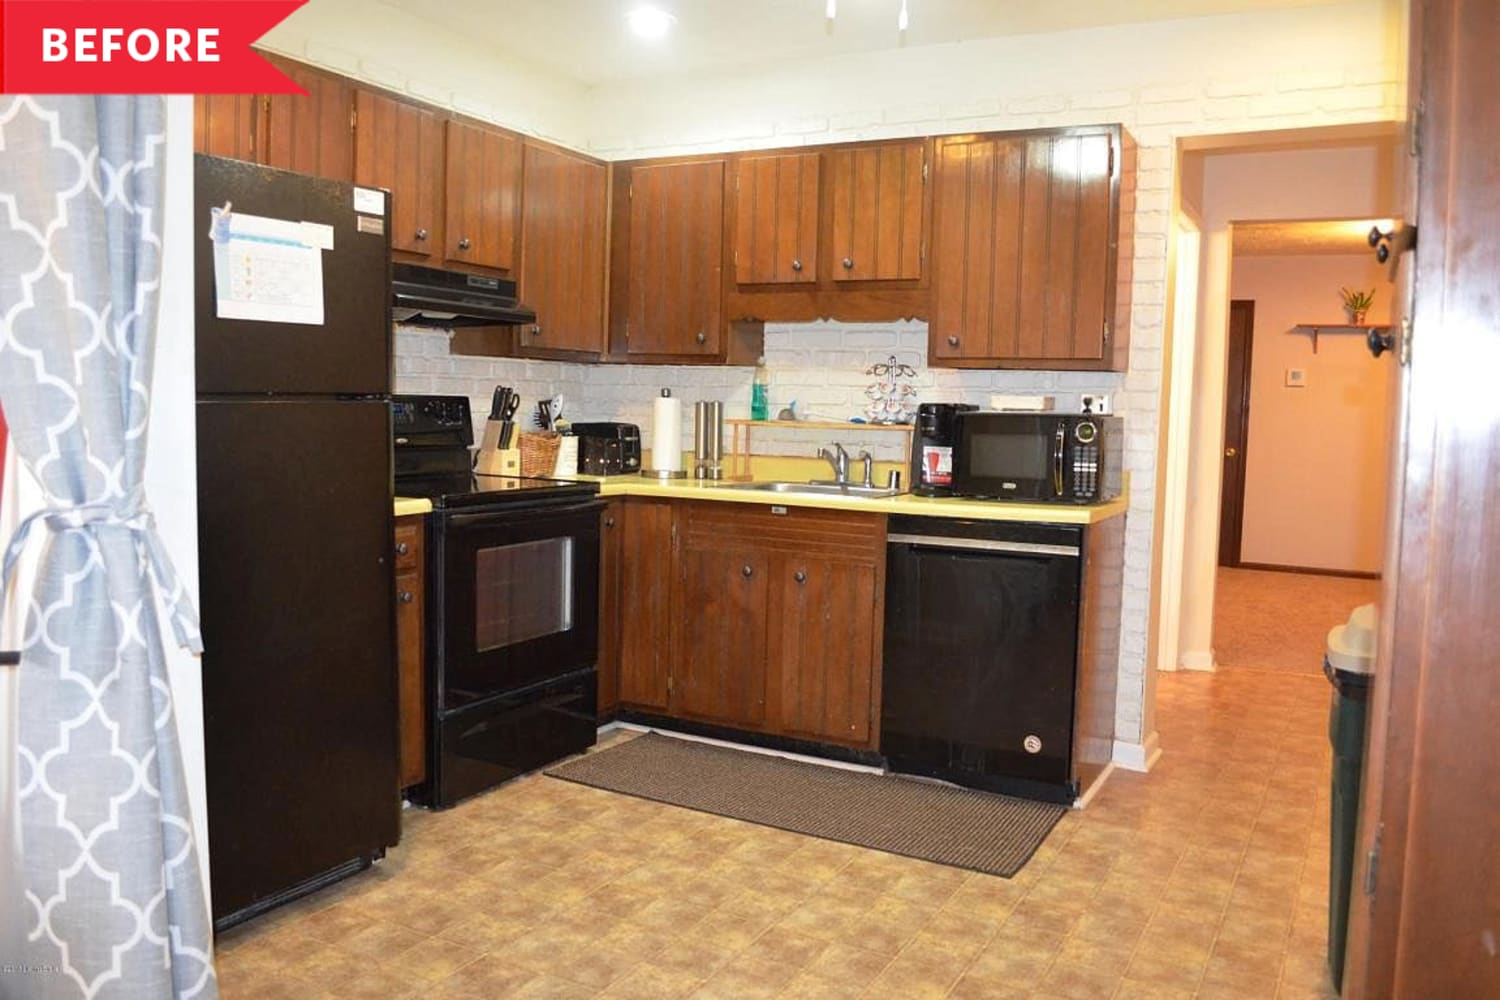
The cabinets and appliances were cramped, and a lack of counter space made food prep difficult. “Above all, it was gross, regardless of how well I cleaned it,” Jay says. “I rarely cooked anything complicated or time-consuming due to the lack of functionality and how dirty it felt.” He lived with the dirty, dated kitchen for 10 months while renovating other parts of the house, but finally, it was time to make a change. To make the kitchen a workable space that blends cooking and living, Jay did three smart things anyone looking to overhaul their kitchen should totally steal:
First, after considering several layouts, Jay decided to make the main prep area a peninsula that faces the living area — perfect for cooking and free-flowing conversation. To open up the layout, the kitchen had to be stripped down to the studs and rebuilt. With the help of his friend Andy, Jay removed the interior walls and added a metal beam where one load-bearing wall had been. The process took about a year, but the end result is an open, rather than cramped, space.
The best part? All the rearranging revealed a brick chimney — the one remaining visible piece of the century-old house. ”I knew it was there but assumed it would have to be removed,” Jay says. “Once I removed all the plaster from the brick, I decided to try to save it.” The mortar was crumbling, so he scraped all the mortar joints back about an inch and replaced them. Then he scrubbed the chimney with a dish detergent and salt mixture and sprayed it with a matte sealer to stop any further deterioration.
The second great thing about this reno (okay, third if you count restoring the original fireplace, which is totally impressive) is that Jay saved money by making his own countertops using a precast method and Quickrete Countertop Mix.
Finally, Jay was able to give his kitchen a custom look for less by tweaking off-the-shelf IKEA cabinets. Jay made the cabinet mostly from maple plywood and edge banding and used an airless sprayer to apply the same white paint color (Benjamin Moore’s Chantilly Lace) as the walls. He also made the custom open shelving from solid maple and applied a water-based clear coat for durability.
Jay did all the woodworking, plumbing, and electrical for this kitchen (again: impressive), but he says you don’t have to be able to pull a DIY hat trick to help make your own reno more affordable.
“While you might not want to DIY every last detail of your own kitchen, consider what you can do, or what you might want to do on your own,” Jay says. “You can save thousands of dollars and have a space more customized to your liking.” In total, Jay spent about $6,000 on materials and $4,500 on new appliances. His once-cramped kitchen is now customized and optimized for use.
“I look forward to cooking in it and enjoy keeping it spotless,” Jay says. “I’d have to say keeping the final cost of materials to around $6,000 by making semi-custom cabinets and concrete countertops, without sacrificing quality or appearance is something I’m proud of.”